What you will need:
Bubbles! (or sprinklers will work too!)
A large shaded area with consistent lighting
Your kid
Your phone
Tip 1: Find an area with consistent lighting in both the foreground and background
This week we are looking at composition of your images and it is much easier to focus on the composition of your picture if you are not chasing your child in and out of areas with various lighting. If you cannot find an area like this, I recommend attempting the pictures in the 20 minutes prior to sunset or after sunrise (if you’re one of those MORNING people)
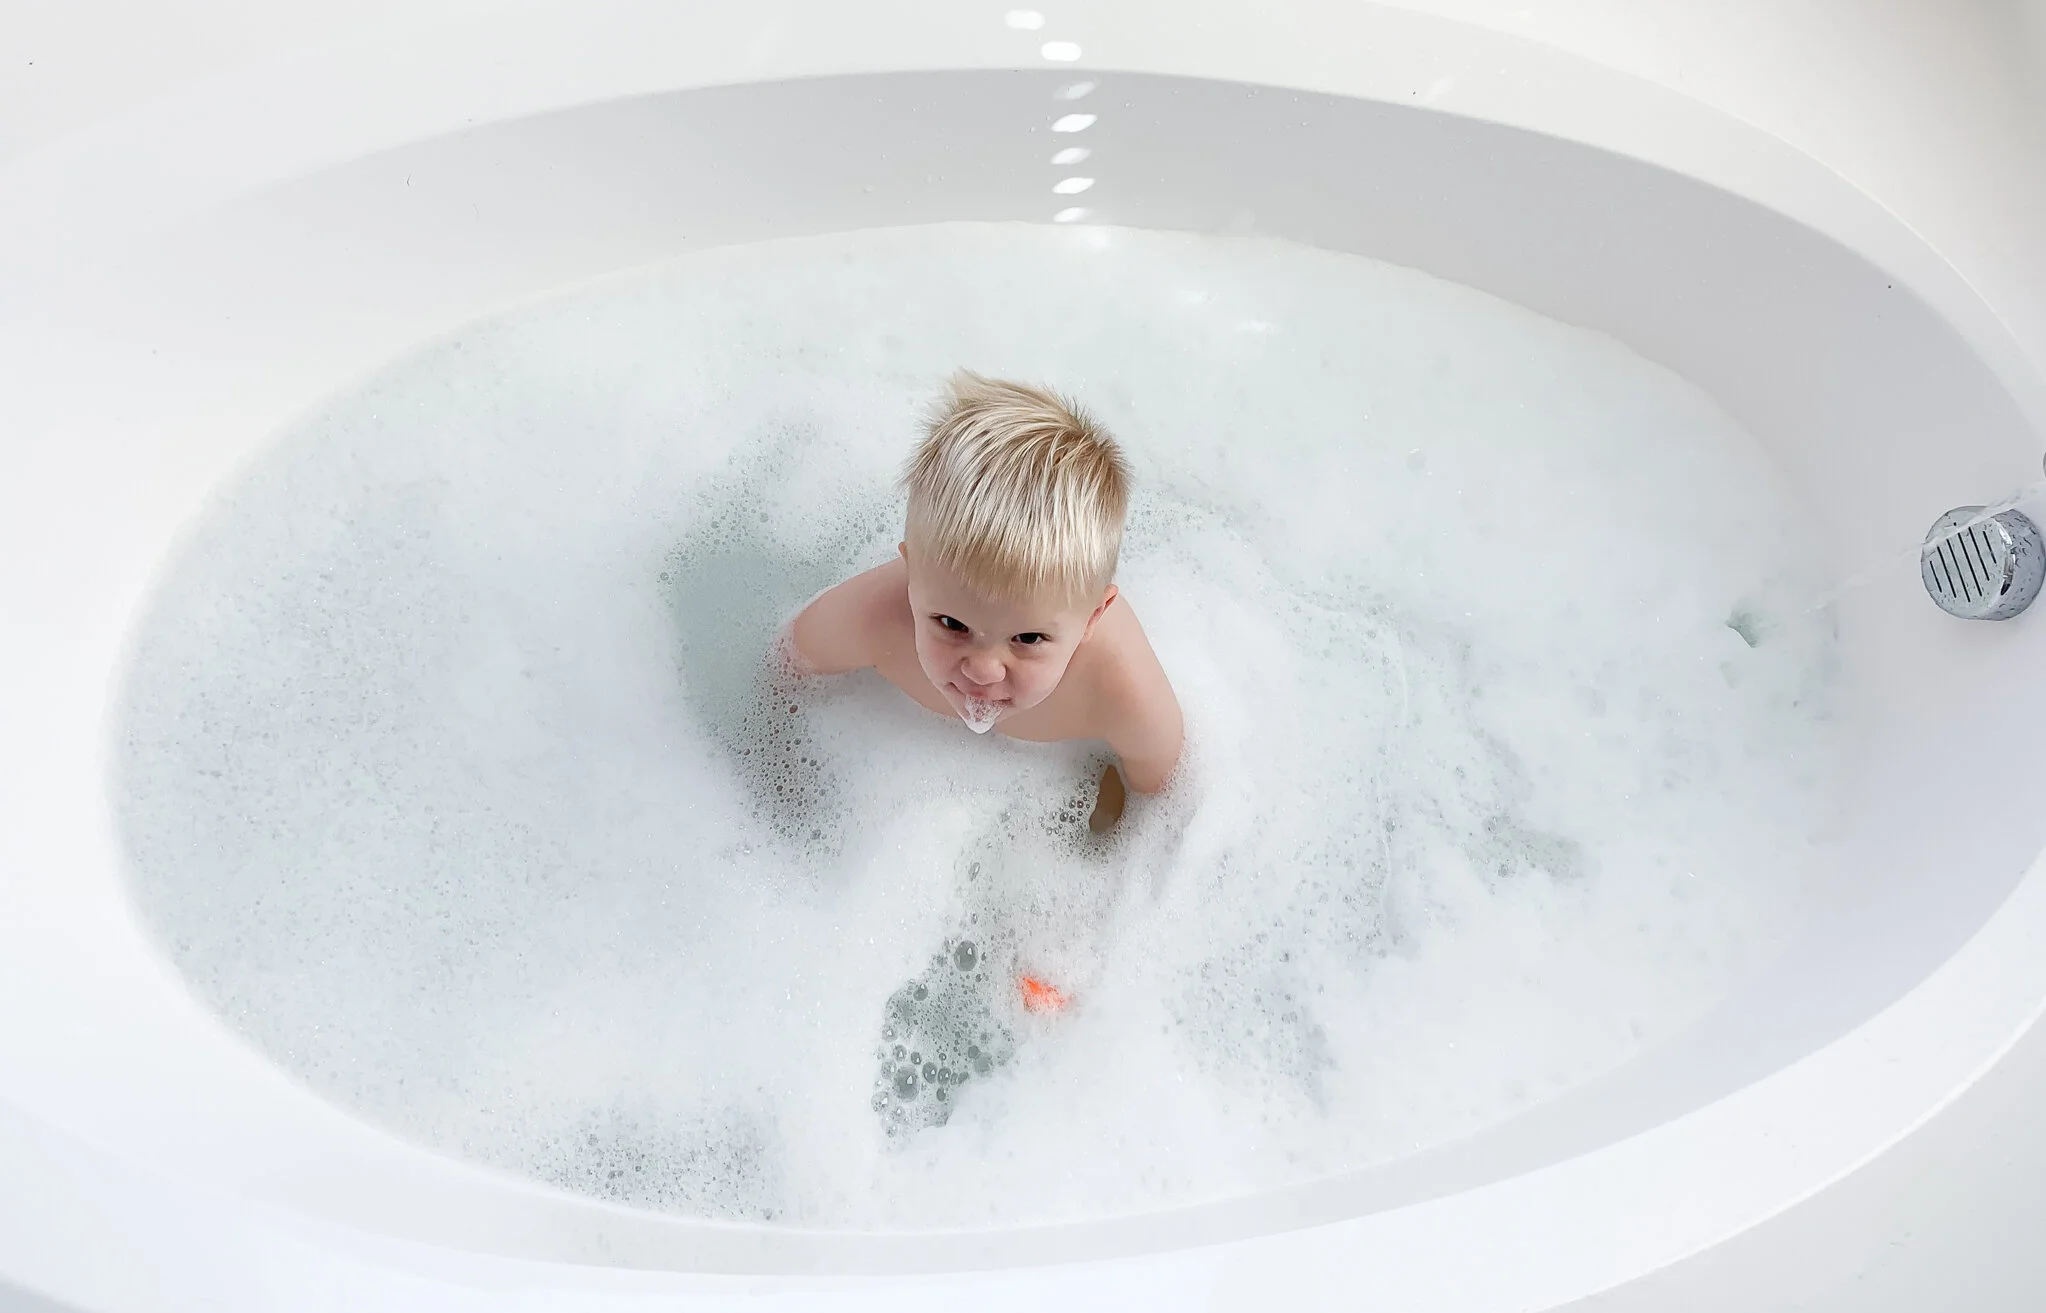
Tip 2: Using negative space to compose your image
For my sample images I selected the bubble bath setting for two reasons. First because I knew this little guy would cooperate better this way. But more importantly I knew it would easily demonstrate the use of negative space in composing your image.
A basic rule of composition with photography is to image that your images has a tic-tac-toe grid. You want to have your subject centered or deliberately to the side of the frame, in the middle or deliberately at the top or bottom. For this demonstration I kept him in the middle of the frame and just moved the focal point from side to side so you could get an idea of what I’m talking about. I often use this side of the frame composition to draw interest from the viewer. I especially like it for images were I am more or less on the same level as my subject as I feel it draws out their emotions more.

Tip 3: Experiment with the placement of your subject
If you have an older child the simple sideways shot of them blowing a bunch of bubbles through their bubble wand might be your favorite. Or perhaps you’re going to fill your yard with bubbles and want a shot of that places your child in the bottom 3rd of the image with the bubbles overhead. Check out how the different compositions impact the way you feel when looking at the image. It’s pretty neat!


BONUS TIP
Here’s an amazing tutorial on how to create a giant bubbles if you want to do a science project AND this photo challenge together! https://www.hgtv.com/design/make-and-celebrate/handmade/how-to-make-giant-bubbles
My Cell Phone Image: